In this tutorial we’ll see how we can use Realm to remotely debug iOS Applications and features like background execution, receiving notifications, waking up from beacons or regions and generally situations that having the App connected to the XCode debugger is not possible.
For this we’ll use Realm database and the Realm Object Server.
Realm is reactive, concurrent, and lightweight, allowing you to work with live, native objects. There are SDK’s that help with developing your applications in Swift, Objective-C, Java, Javascript and .NET. Due to the multi-platform support, Realm is a good candidate to use as a universal solution for your Mobile Applications across all the popular platforms.
Realm also offers an Object Server which works as Database Server and syncs your ‘Realms’ in real time as changes happen in the client devices.
Let’s take as example an iOS application that implements a Realm database and saves records for a To-Do list. When the user adds new objects in the database those objects automatically get synced to the connected Realm Object Server and are available to be read from another application or client that share this ‘Realm’. The idea behind our Remote Logger is that we’ll use the Realm Object Server to store the logs generated by the iOS Client. That way we’ll have a stored log of what happened in our application in real life scenarios where the use of XCode to debug the app is not possible.
Prerequisites:
– An instance of the Realm Object Server running and being accessible on the network
– Installation guide can be found here
– An Apple developer account to test and deploy your apps
– Basic Swift knowledge
– Know how to use Cocoapods
If you haven’t already installed Realm Object Server, do that now. Also install locally on your Mac, Realm Studio. This can be found here.
Now let’s create a new iOS project in XCode and name it ‘Realm Logger’
The easiest way to install Realm for Swift is using Cocoapods. In your Podfile, add use_frameworks! and pod ‘RealmSwift’ to your main and test targets. After that run ‘pod install’ in the terminal and you are set. After that open the .xcworkspace file generated by CocoaPods to work on your project!
Since we are all set let’s start coding a bit.
Part 1
In XCode create a new Class named ‘RealmLogger’, subclassing NSObject. This will be the class that will be used to log our debug messages. We will import Realm as well. There is not much going there at the moment. Let’s add a couple of functions that will enable us to do more interesting things. First, let’s add a ‘Log’ function. To begin with we will just take the message and print it.
After that we will initialise a default local Realm DB and save those Logs there as well. This way we can come back to them at a later time. You can read more about how to create Realms and Realm Objects in their docs here. The RealmLogger Class now look something like that:
So our class is now ready to get our log messages and save them locally. In our project we will create a simple ViewController that will have a UITextField and a UIButton. The idea is that we will write messages and save them when tapping on the button using our RealmLogger. We will also create another simple ViewController that will read those logs and display them in a UITableView.
Those look like the following:
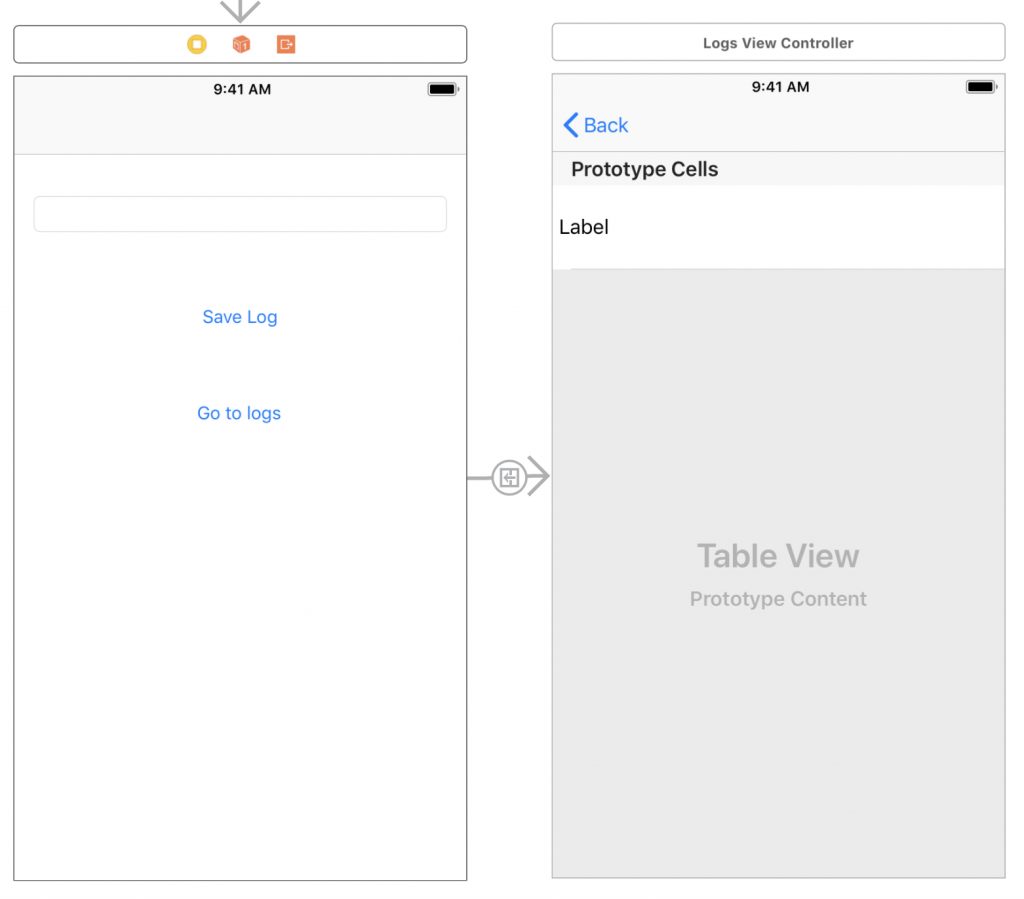
Now if you connect all the dots and run the app, you will be able to add some logs and see them been listed in the LogsViewController. This is great for a first step, but is not what is the goal of this tutorial. What we will get at is receiving and reading these logs remotely, as they get created. Most of the code above will stay the same, we will just need to add some final touches to it.
I suggest before going forward to make sure that the App is Building and Running fine and that you understand the code we wrote so far.
In part 2 of this tutorial we will see how to connect the Local Realm DB we created and stores logs, with the Realm Object Server in order to be able to debug our apps remotely.
Part 2 coming soon…stay tuned.